Module 5 - Creating a Worksheet Activity in Boardmaker Plus

|
Agenda and outcomes Worksheet Activity in BMkrPl.doc Size : 33.5 Kb Type : doc |
|
|
E tips assignment for Wksht Activity with BMKrPl.doc Size : 27 Kb Type : doc |
1. To begin, you will need to arrange your document based on how many pages of worksheets you will have. If your page is in Portrait mode, the width is 8 ½ inches wide and 11 inches long. If you have two pages of worksheets, you think of the two pages side-by-side. Therefore, for this Boardmaker document, your width will be set at 17 inches and the length will remain 11 inches long. See Quick Tips sheets, “Setting up Single Page” and “Setting up Multiple Pages.”
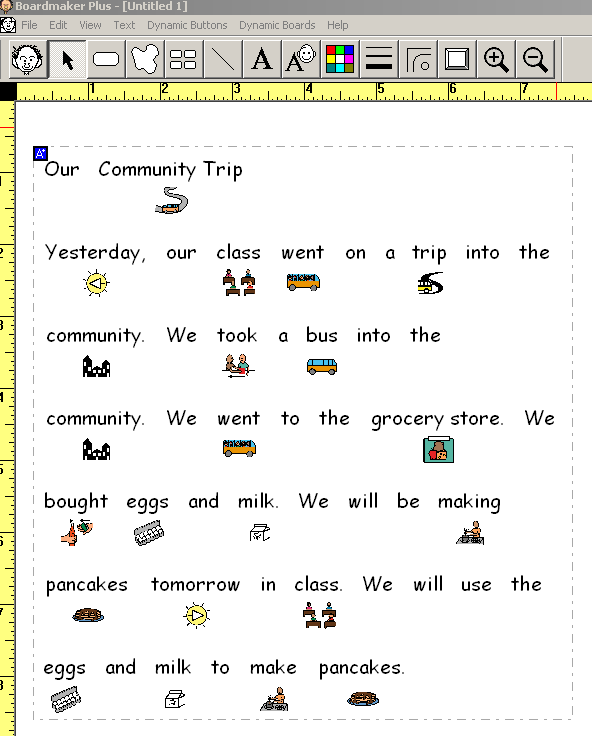
2. To create a foundation for the worksheet activity, we are going to begin with setting up a page featuring some text the students can read or review about an activity, about which questions will later be asked on the worksheet page. To do this, we will type a paragraph in Boardmaker Symbolate. As a reminder, the Symbolate feature provides visual supports for text and allows it to be more meaningful for some students.
To the right is an example of a completed paragraph done with Boardmaker Symbolate . . . .
3. Select the Symbolate feature in Boardmaker Plus. When you get your cursor, begin at the left side of the first page, click the cursor and drag it the width of that first page, then release. Your box should fit in the width of your first page. The length will grow as you type. Refer to the tip sheet, “Basic Typing in Symbolate.”

4. As you can see from the examples, the images on my initial typing look a little different than on the final. This is because I changed some of the pictures to better suit my text. In addition, I took out some of the image support for simple words, such as “our,” “the,” “and,” and “we.” When there are too many images, the entire document can be too difficult to read and interpret, so removing some pictures helps the students focus on the words and the concepts.

5. Adjust the symbolate pictures and text as done in previous modules. See the following Tip sheets for additional guidance: Changing the Symbol for a Word-Symbol Pairing, Changing the Default Word-Symbol Pairing, Changing the Text for a Word-Symbol Pairing.
6. You can adjust the size of the pictures in the Symbolate text and the spacing to make it easier to read. Make adjustments using the Quick Tips sheet for "Adjusting the Overall Appearance of Symbolate text in Boardmaker."
7. Text buttons used for worksheets can be tricky with Boardmaker because they are treated a little like graphic cells. The text can be moved individually within the cell boundaries; however, the entire cell can be selected and moved as a unit.
8. To create buttons for your worksheet, you will select the “Button Tool” from the top menu. Buttons can be any size and length. Pictures and text will be scaled to size on the buttons, though you can adjust them later.
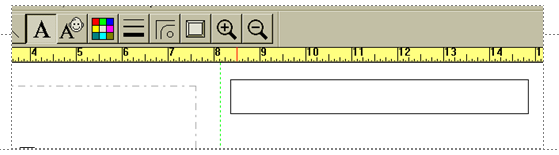
9. We will begin with creating a cell button for the student to write their name. Select the Button Tool from the top menu. Click on your second page and make a long, narrow button that will be for the child to write their name.
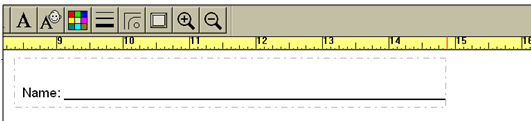
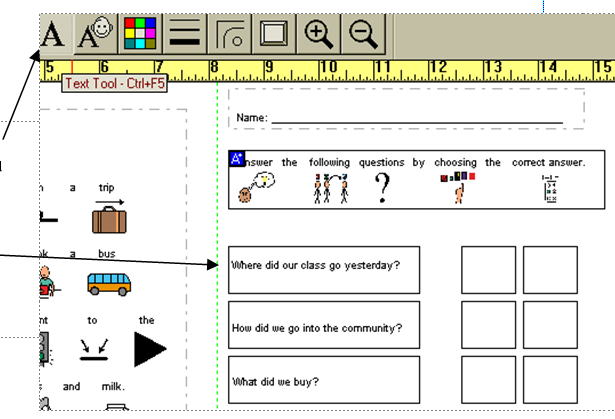
10. Next, select the Text Tool (The “A”) and click on the left side of the box. Type the word “Name” followed by the underscore ____________ to create a line for student name.
11. To make this a box with an invisible line around it (so students can only see the text and not the box), select your Pointer Tool (the arrow), then select the box so it is highlighted with a red dotted frame. Select the Line Thickness Tool, and choose the dotted line (which is the invisible line)
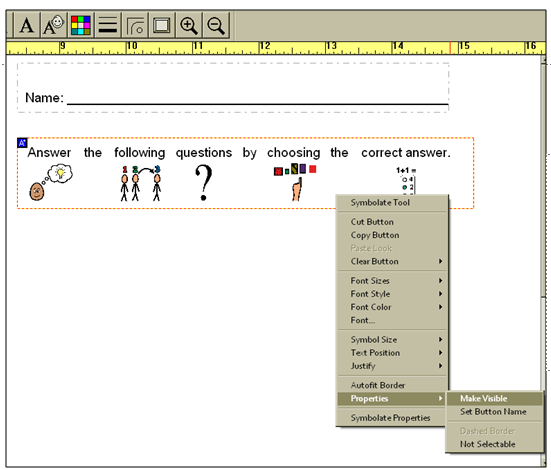
12. Now, type the directions for your worksheet using the Symbolate Feature.
13. When you are finished typing, you can choose to make the box around the directions visible by right-clicking on a space in the Symbolate box.
14. Now we will create multiple buttons which will contain worksheet questions. To create one button, select the button tool and make one button cell.
15. To create multiple buttons of the same size and shape, select the Spray Button Tool, then click on the cell, holding down the mouse key and dragging the cursor, to create as many cells as needed.
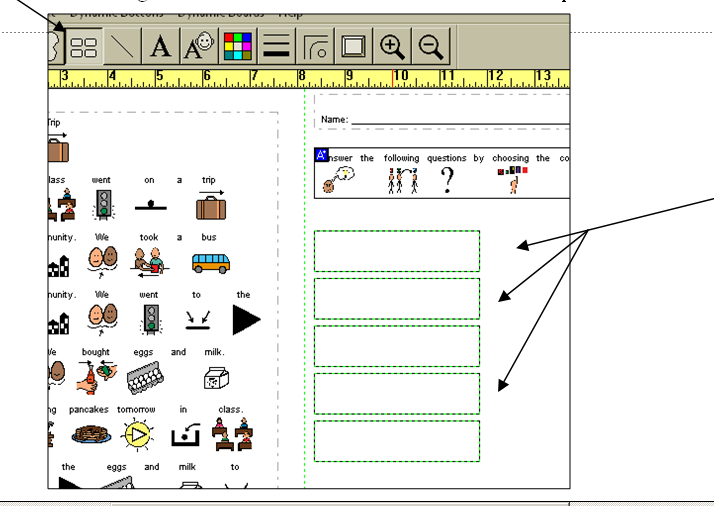
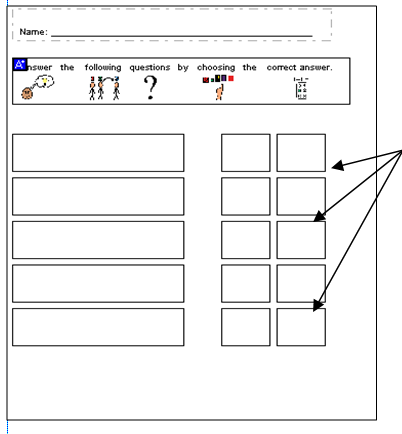
16. You can spray cells of any size and quantity. For this worksheet, spray several cells for questions that take up about half of the page. Then draw two smaller cells for the answer responses for each question as shown below.
17. Begin adding text to the boxes. Click on the Text Tool from the top menu (“A”). Click on the left side of the box and type your questions.
18. Now you can add the picture symbols with text to each answer cell. Use the Symbol Finder tool (face) to open up your picture library and search for the appropriate symbols. When you find the symbol you would like to include, click on the appropriate empty button and your selected symbol will appear in that button.
19. You can swap the position of button cells by choosing two cells, holding down the Shift key as you select them. Then choose “Swap Buttons” from the “Edit Menu” at the top toolbar. The button positions will be re-arranged for you.
20. Continue to type out questions with text and fill in the cells for answers using the picture library for symbols, until you are finished.
21. Save your work!